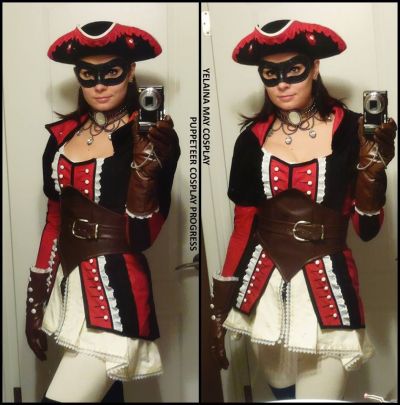
Making the Puppeteer was exciting and challenging all at once! I absolutely loved the style and all the small details she has, but at the time, i had no idea what to do!
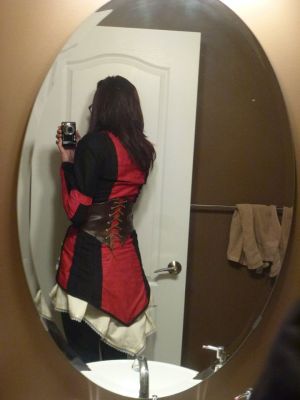
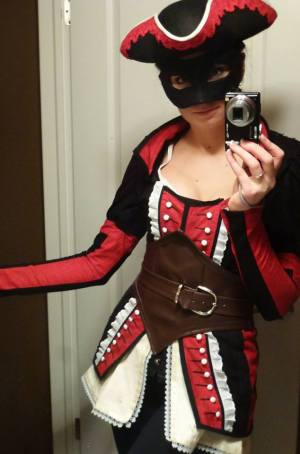
I started by trying to find every reference photo of her i could. This one was the main image i used, but as you can see, her back is a mystery! I watched a bunch of gameplay on youtube and took screenshots at every chance i could.
After that i spent a ton of time trying to work out what types of fabrics i was needing for each section of her outfit. I try to take a really good look at a bunch of different references, then sort of guess what type of fabric they would have had in whatever time period the game is set in. This is a little tricky, and sometimes you cant find what you want, but i really enjoy the planning and research process of cosplays! Also, because this was a commission, i had to get it right! Next was finding all the fabrics i wanted on Fabric.com and compiling a little sample board as you see below!
Materials Used:
-Black Linen (jacket panels)
-Red Brocade (jacket panels)
-Cream Linen (underskirt)
-Black Vinyl – Heavyweight (boot covers and trims)
-Brown Vinyl – medium weight (belt)
-Red Lace (hat rim)
-Black Lace (secondary detailing on the black paneling)
-White Lace (underskirt edging)
-White Ruffles (details on front panels and gloves)
-Black & White Bias Tape
-Satin or Pearl buttons (front of jacket and side of boot covers)
-Small glass vials
-Metal Beads (necklace and earrings)
-Metal broach (necklace)
-Mask base
-Black “Pirate” three pointed hat
-Long Brown “Leather” gloves
-Cream Tights
-Black Ankle Boots
-Basic Jacket Pattern

|
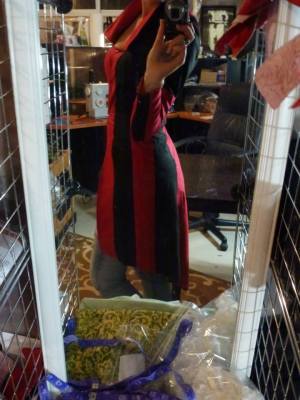
After all the materials arrived in the mail (I order most everything online – EBAY IS YOUR FRIEND) I got out the trench coat pattern i ordered from McCalls and started to cut out the fabric! I actually used the pattern from cosplay.mccalls.com for Snow Whites Jacket and shortened the bottom sections, and made the top closure go above the chest. I have no special techniques to editing patterns, i sort of just cut the general shape, bigger than i want, and then trim it down until i have the changed piece i need.
Luckily the pattern its self was made up of several panels so I didnt need to do anything fancy to get strips of red and black! All i had to do was make sure i alternated the pattern pieces and I was good to go!
|

|

|
Once i got the main jacket sewn together, it was onto the details.
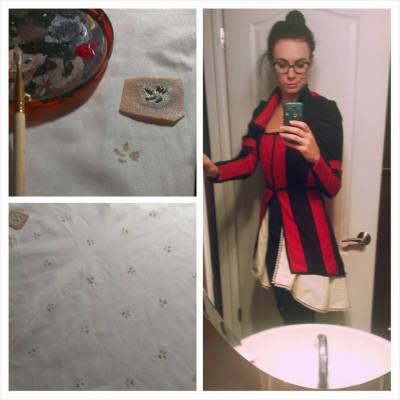
Because the underskirt has a subtle flower pattern to it, that i just couldnt find pre-done on a fabric in the colour i needed, i decided to make a stencil and to it myself! I cut the shape i wanted out of a scrap piece of worbla, and just proceeded to paint it all over the piece of fabric i was using for the skirt.
After that I added the ruffles and the black lace overlay to the jacket to start building on the details. And then added the red lace to the hat, just with some hot glue.
|
|
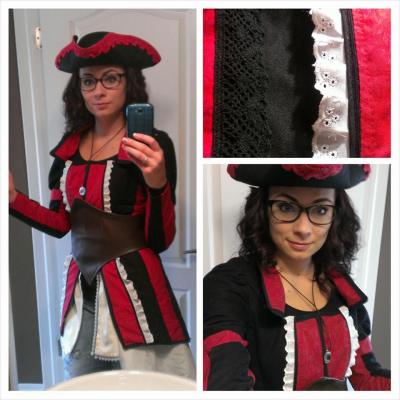
After that i cut the belt out of the vinyl and started to work on that. Because i absolutely dispise lacing things up, i made the back look laced, but the side of the belt actually opens and closes with some Velcro. Therefor the lace is there and looks so pretty, but you dont have to mess with it every time you want to get in our out of the thing.
To sew the buttons on and add the black details near them, i should probably have sewn them all on there really pretty, but my sewing machine at the time was not fancy enough to do that. So i simply painted some identical black stripes down either side of the jacket, and hand sewed a little satin button on the end of each. There are no buttons under the belt area as that would just make for awkward lumps and you would never see that they are missing anyways once you have the costume all on.
|

|
|
The necklace is a little tricky if you have never made jewelry before, but once you get the hang of bending the wire and adding some beads its easy!

|
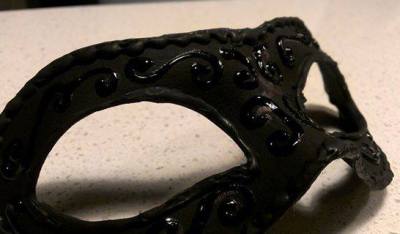
For the mask, i simply bought a white cardboard mask base from Michaels. However it was MASSIVE. Even on my face, and the girl i was making the costume for, is much smaller than me. So i trimmed the mask down quite a bit and started to paint it.
I made the raised detailing along the edges just with some very careful hot gluing and then added the swirls with some puff paint, that you would use on clothes! After i applied all that i paint everything black again so it would appear matte and not shiny in random places.

|
|
Then all i had to do was finish up the last details like adding the ruffles and buttons to the gloves, the trim to the hat, and all the other tiny things that were missing. Then it was done!
To make the boot covers, see my “Boot covers” tutorial!
|
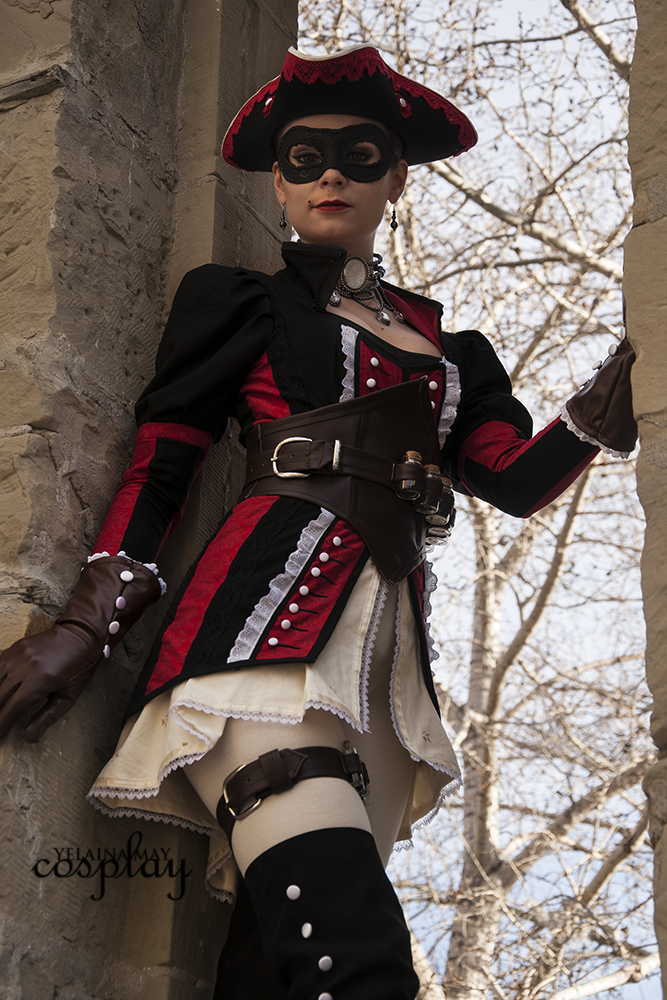
Puppeteer
(Assassins Creed Black Flag)
Completed: December 2014